
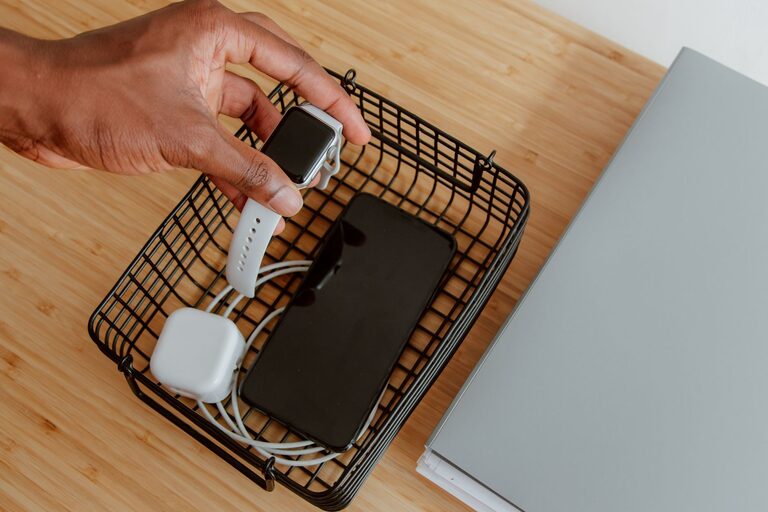
Setting up a charging station for your devices can bring order to the clutter of cables and chargers while making sure all your electronics stay powered up and ready to use. Whether you have smartphones, tablets, smartwatches, or other rechargeable devices, a dedicated charging station is a great way to keep everything organized in one spot.
In this guide, we will walk you through the process of creating an efficient, safe, and neat charging station at home or in your office.
Why Set Up a Charging Station?
Before jumping into the how-to, it’s helpful to understand the benefits of having a charging station:
– Organization: Avoid tangled cables and scattered chargers.
– Convenience: Charge multiple devices in one place.
– Safety: Reduce electrical hazards and protect your devices.
– Space-saving: Keep your desk or countertop clutter-free.
– Device Care: Prevent overcharging by using smart chargers.
Step 1: Choose the Right Location
The location of your charging station matters for convenience and safety. Consider these tips:
– Accessibility: Choose a spot where you often use your devices or pass by regularly.
– Power Source: Ensure there is an electrical outlet nearby.
– Ventilation: Avoid enclosed spaces where heat can build up.
– Surface: Use a stable, flat surface such as a desk, shelf, or countertop.
Common ideal locations include a home office desk, living room side table, or a designated corner in the kitchen.
Step 2: Gather Your Charging Equipment
Having the right equipment is essential for an efficient charging station. Here’s what you might need:
– Multi-port USB charger: Look for chargers that can handle multiple devices simultaneously.
– Charging cables: Use cables compatible with your devices (USB-C, Lightning, Micro-USB).
– Cable organizers: Clips, sleeves, or zip ties help keep cables tidy.
– Power strip or surge protector: Protect your devices and provide enough outlets.
– Charging docks or stands: Keep devices upright and easy to access.
Choosing a charger with built-in safety features like overcurrent and overvoltage protection is a smart move.
Step 3: Plan the Layout
Planning the layout before plugging anything in saves time and avoids a mess. Here is a simple approach:
- **Sort your devices** by charging type and frequency of use.
- **Assign a spot** for each device on your surface.
- **Map out cable lengths** to ensure they reach from the charger to each device without excess slack.
- **Arrange organizers** to separate cables and prevent tangling.
Sketching out your setup or using masking tape to mark positions can help visualize the final look.
Step 4: Set Up Power and Manage Cables
Now that you know where everything will go, it’s time to plug in your power sources:
– Connect the surge protector or power strip to the wall outlet.
– Plug in your multi-port charger into the power strip.
– Route charging cables through organizers to each device’s spot.
– Use cable clips or adhesive organizers to secure cables along edges or underneath the surface, keeping them out of sight but accessible.
Try to keep cables separated and avoid crossing them too often. Bundling excess cable length neatly with reusable ties minimizes clutter.
Step 5: Arrange Devices for Easy Access
Place your devices in their assigned spots on the charging station. If using stands or docks, position them so screens are visible and buttons are accessible.
For multiple devices, prioritize easier access to frequently used gadgets. You could label cable ends to avoid confusion, especially if similar cables are used.
Step 6: Maintain and Troubleshoot
To keep your charging station efficient over time:
– Regularly check cables and chargers for wear or damage.
– Clean the station surface to remove dust or debris.
– Organize cables if they become tangled or misplaced.
– Test charging ports periodically to ensure devices charge correctly.
– Avoid overloading outlets with too many devices.
If you notice devices charging slowly or not at all, check the cables and charger compatibility or try swapping ports.
Bonus Tips for an Enhanced Charging Station
– Add LED lighting to help find plugs in dark areas.
– Use wireless chargers for compatible devices to reduce cables.
– Personalize your station with decorative trays or mats.
– Include a small drawer or box for storing extra cables and adapters.
– Label chargers with device names for easy identification.
Conclusion
Setting up a charging station for your devices is a simple way to organize your space and keep your gadgets ready to go. By choosing the right location, gathering suitable equipment, planning your layout, and managing cables carefully, you can create a neat and functional charging hub. Regular maintenance ensures it stays efficient and safe for everyday use.
Try these steps today to transform your charging routine and enjoy a clutter-free environment!
About the Author